-
Request the template file "PartNumberStructure.xlsx" from us.
-
There should be four tabs in the template.
-
Overview, Provides brief instructions for template use as well as the document version number.
-
PartNumbers, Where all of your individual part number information will go.
-
BillOfMaterials, Where all of the bill of materials relationships information is located.
-
DrawingsAlternate, Where any extra drawings you want connected are located.
-
-
-
Replace the example information with your data.
-
Leave all of the template tabs intact with their names unchanged.
-
Leave headers unchanged on all tabs.
-
Make sure you do not have any duplicate part numbers with the same revision level.
-
Tags must be enclosed in quote and separated by commas. Example: "make","buy","finished good"
-
If you have leading zeros in your data make sure to set all cell formats to "text".
-
-
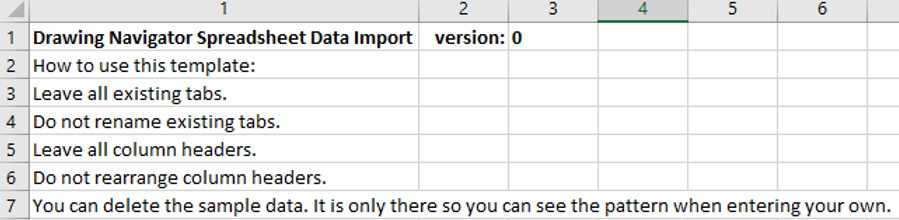
This is how the template file looks with the sample data included.
-
Overview tab
-
-
PartNumbers tab

-
BillOfMaterials tab

-
DrawingsAlternate tab

-
Save and close the template file.
-
Open Drawing Navigator.
-
Click "Tools" in the menu bar.
-
Click "Options" in the dropdown menu.
-
Select "Import Spreadsheets" in the list on the left side of the window.

-
Using one of the following methods, add your file path(s) to your spreadsheet file(s).
-
Select Directory, Will get all spreadsheets inside this directory and all subdirectories.
-
Select File, Will load this specific spreadsheet only.
-
Copy and paste the file paths into the Path: input box.
-

-
Click the "Add" button to add it to the list.
-
If you are using the Standard spreadsheet template from Drawing Navigator you can skip ahead to the preview step.
-
To define your own template, double click on the list entry to load it into the editor on the right side of the screen.
-
Click the "New" button below the Spreadsheet Structure combo box and enter the name of your template.

-
Click "OK" to add your new template to the list and assign it to the selected file.
-
Expand the screen if necessary and fill out all the options to match your spreadsheet columns.
-
Once you have everything filled out, click the "Load Preview Data" button below the fields to preview how the loaded data will look.
-
Repeat changing the options and previewing until the imported data looks correct.

-
If you want to specify a page number to open a drawing to, enable the Page option and specify the correct column.
-
Click the "Save" button to apply all of your changes.
-
Repeat the above steps until you have all files and directories selected and templates created.
-
Make sure you close all open spreadsheet BOMs that you will be importing.
-
Click the "Load Data" button in the "Spreadsheet Database" group.
-
Wait while Drawing Navigator processes and imports your data.
-
The import status will be displayed after everything is processed.

-
If there are errors the data will not be imported.
-
Correct them and try the import again.
-
-
Spreadsheet data import is now complete.